
Welcome back to another post adventurers. Pie season is here and there is no better way to kick it off then with a nice apple pie. With its tender apples and sweet spices, this apple pie tastes as good as it smells. I will also teach you how to do a lattice pie crust top for your pie instead of just one whole sheet covering the top of the pie. Which is a nice and beautiful finish to any pie. Now onto the recipe.
Ingredients:
- 6 Mixed Apples (I used Granny Smith and Honey Crisp)
- 6 Tablespoons of Unsalted Butter
- 2/3 Cups White Sugar
- 2 Tablespoons Lemon Juice
- 2 Tablespoons of All-Purpose Flour (Plus the extra flour for dusting)
- 1 Teaspoon Ground Cinnamon
- 1/4 Teaspoon Ground Nutmeg
- 1 Egg
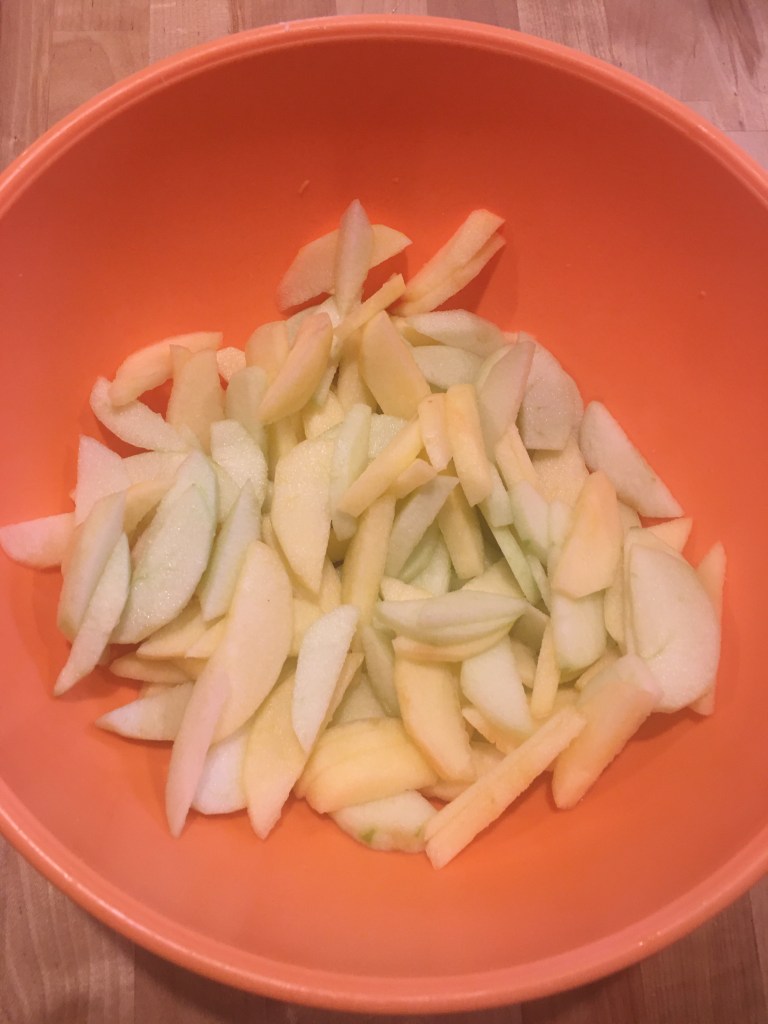
First peel, core and cut up all your apples into thin slices. (I would use a sharp knife for this step.) Then add the lemon juice to the apples so they don’t brown.

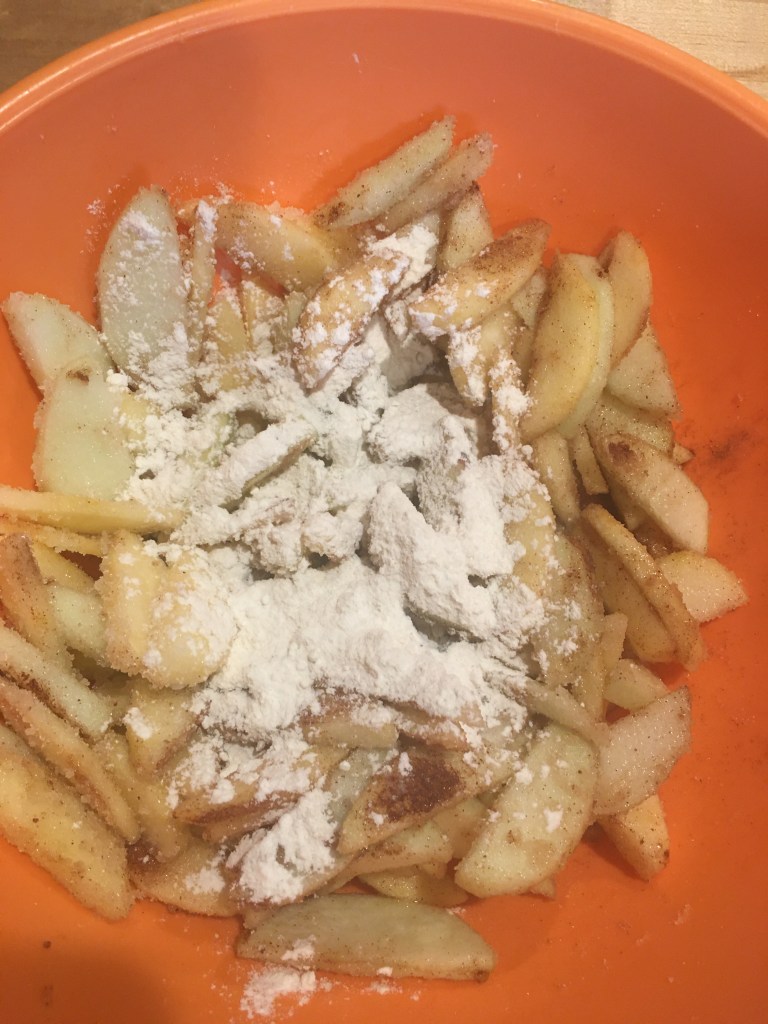
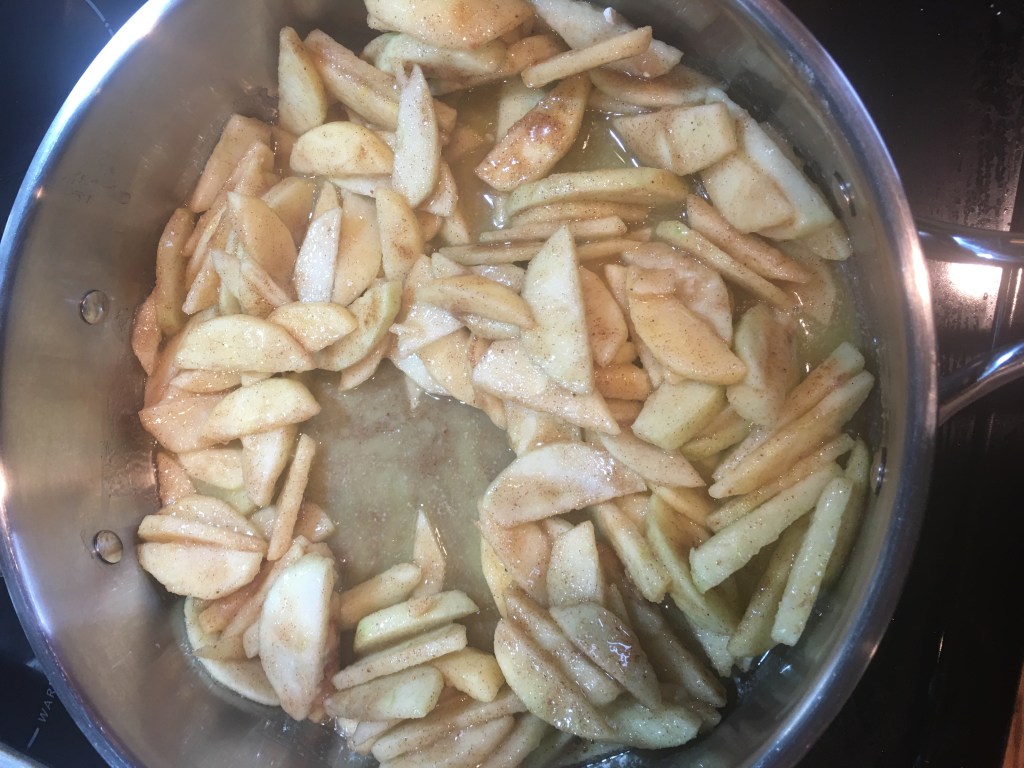
Add the sugar, flour and spices to the apples and mix it all up.

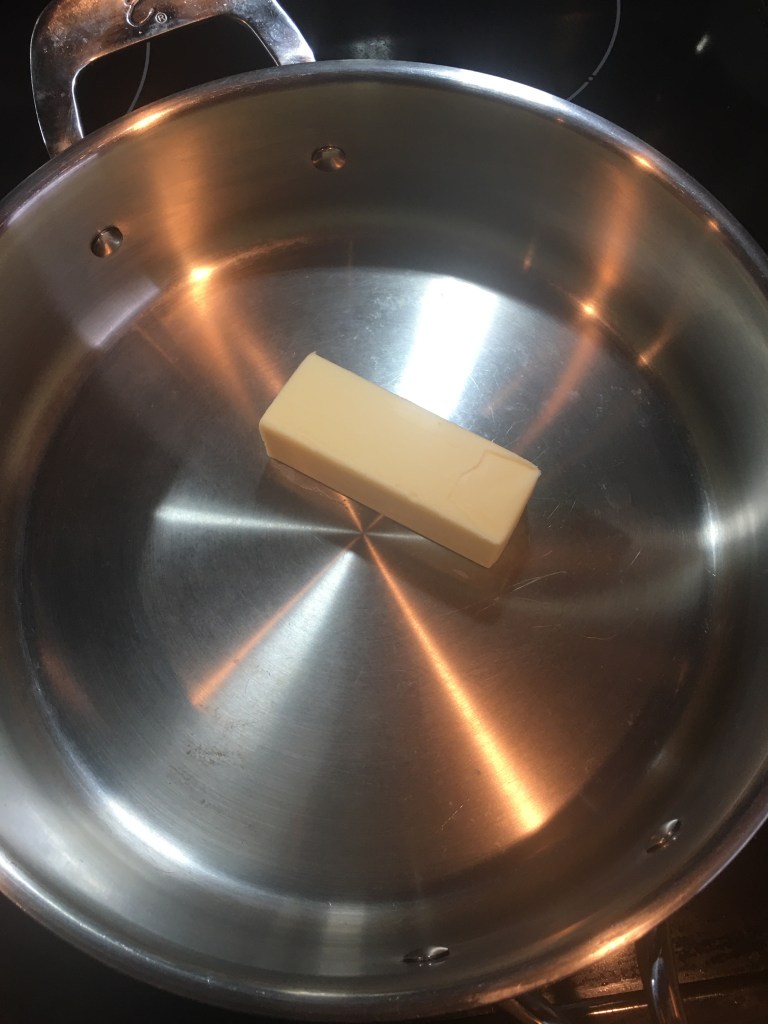
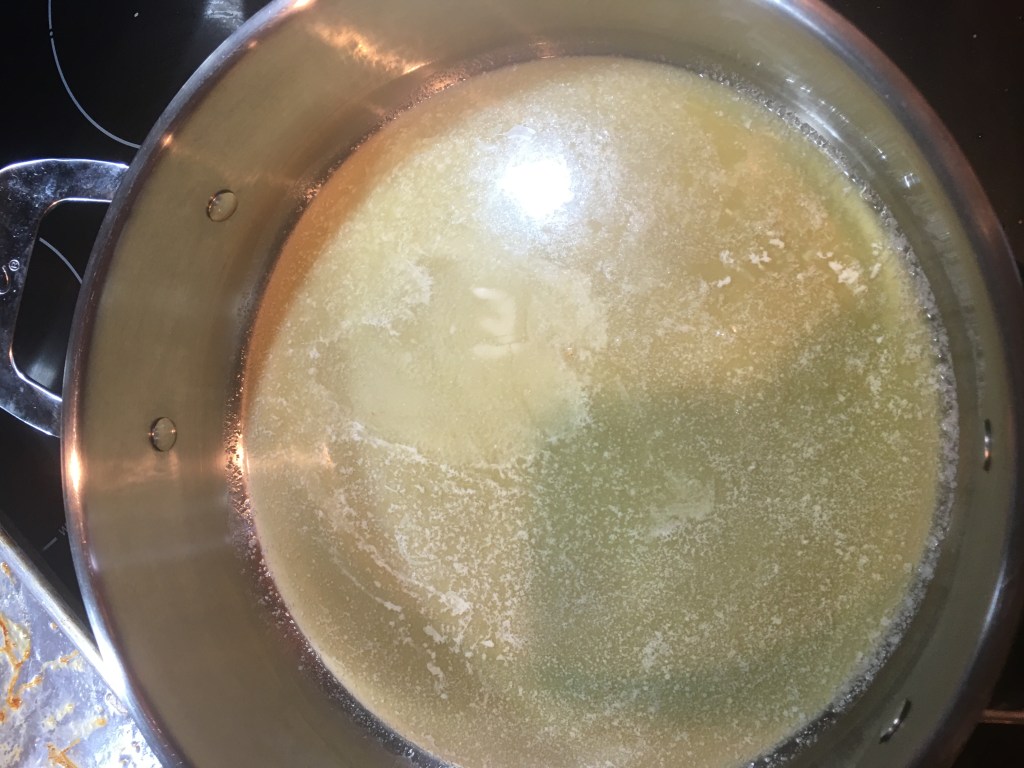
Add the butter to a sauce pan and melt it down on low heat. Once the butter is melted add the apple mixture into the butter.
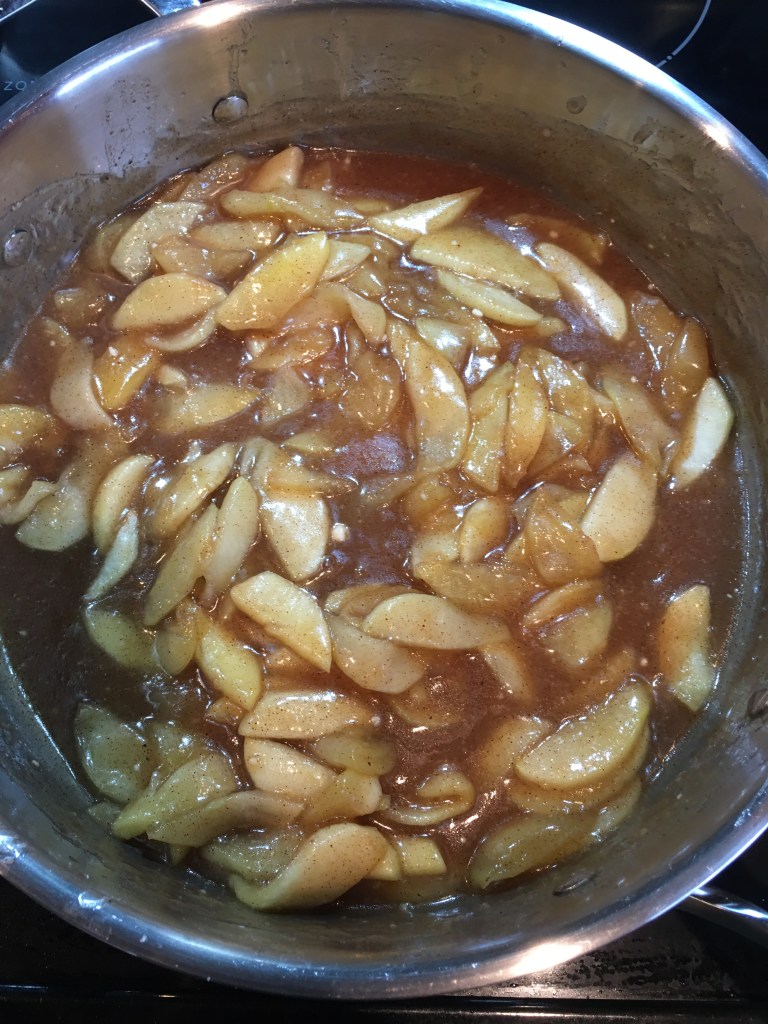
Cook down, until the apples are tender. As I was cooking my apples my Dad walked into the house and asked me, “Do you know what would make this even better?”. Then he grabbed some of his whisky and a match and flambéed the apples, giving them a nice earthy caramel flavor. But if you do flambé the apples they will need to be cooked down much longer and you might need to add more flour to thicken it. This recipe tastes amazing without flambéing the apples and I normally would never do this unless my Dad is with me or he suggests it.

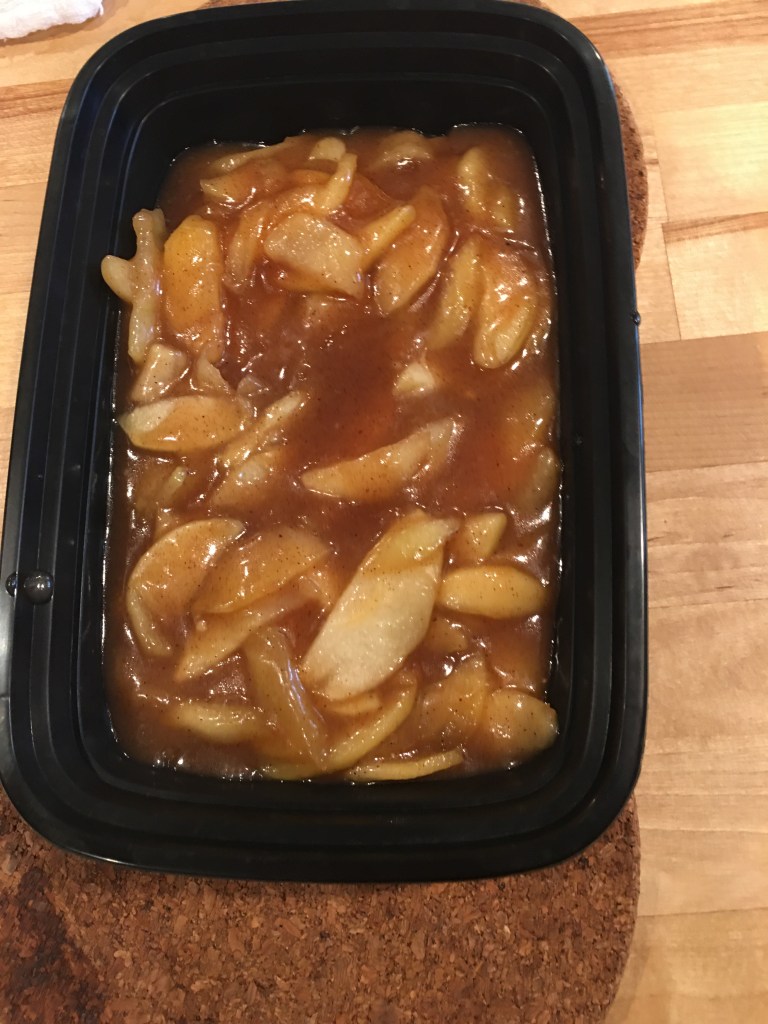
Next I put the apples in a heat proof container to cool. I normally make this a day in advance and let it sit in the fridge until I’m ready to use it. I think that letting it sit in the fridge for a few hours helps develop the flavor. I wouldn’t let in stay in the fridge for more than 2 or 3 days.
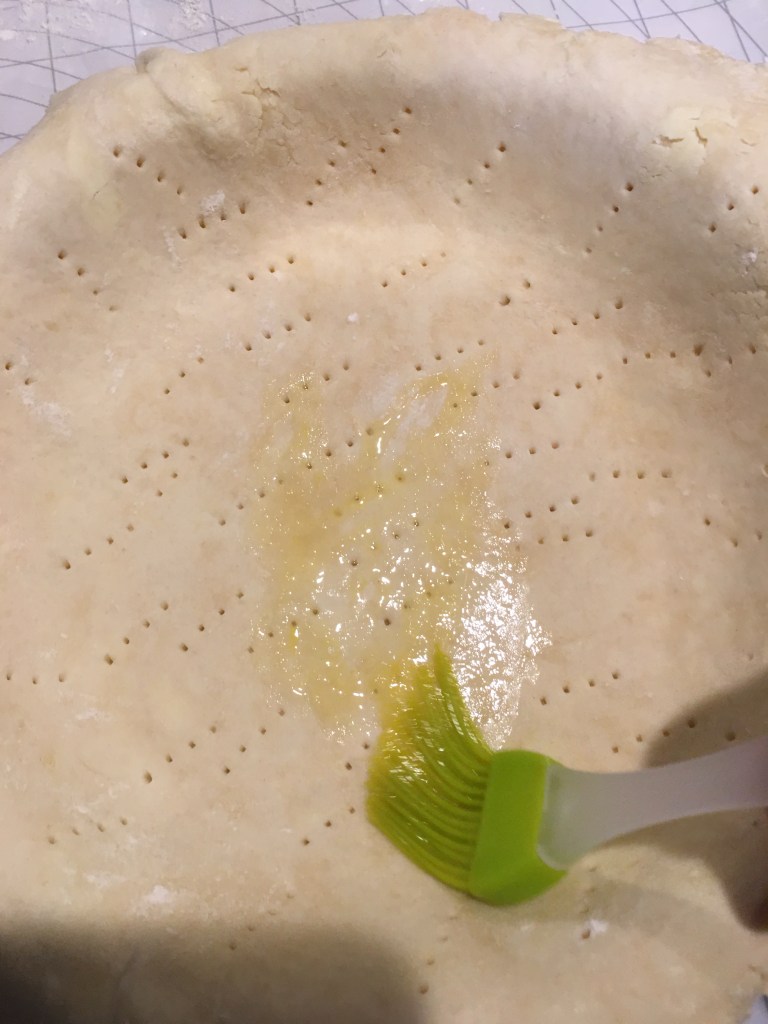
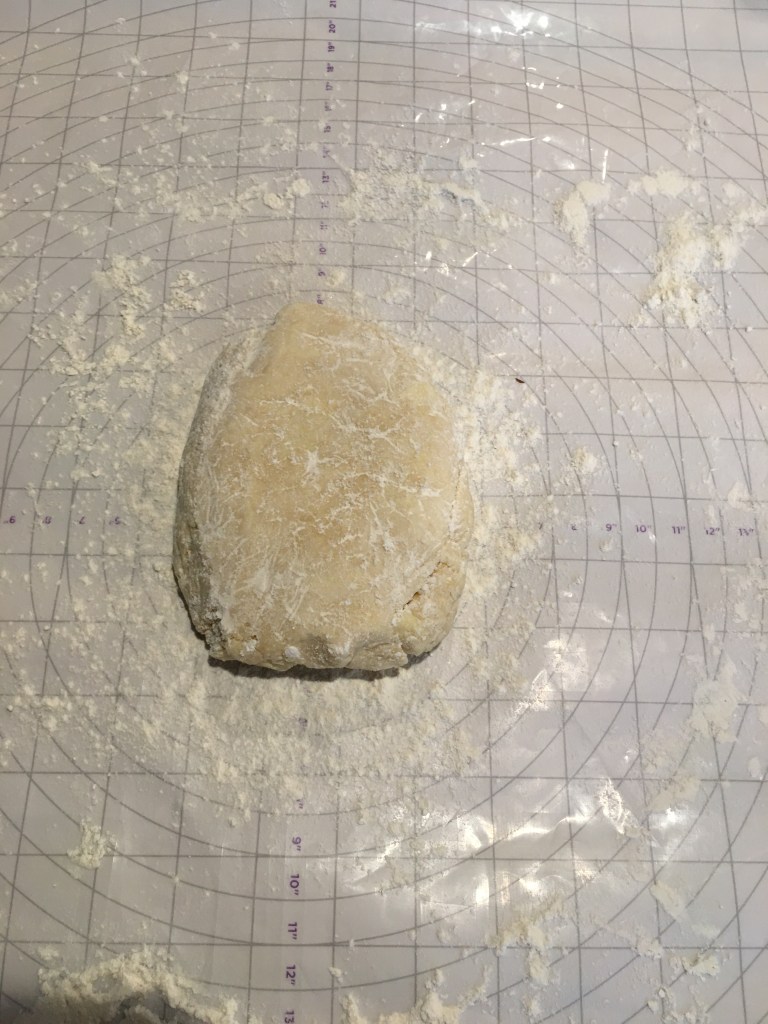
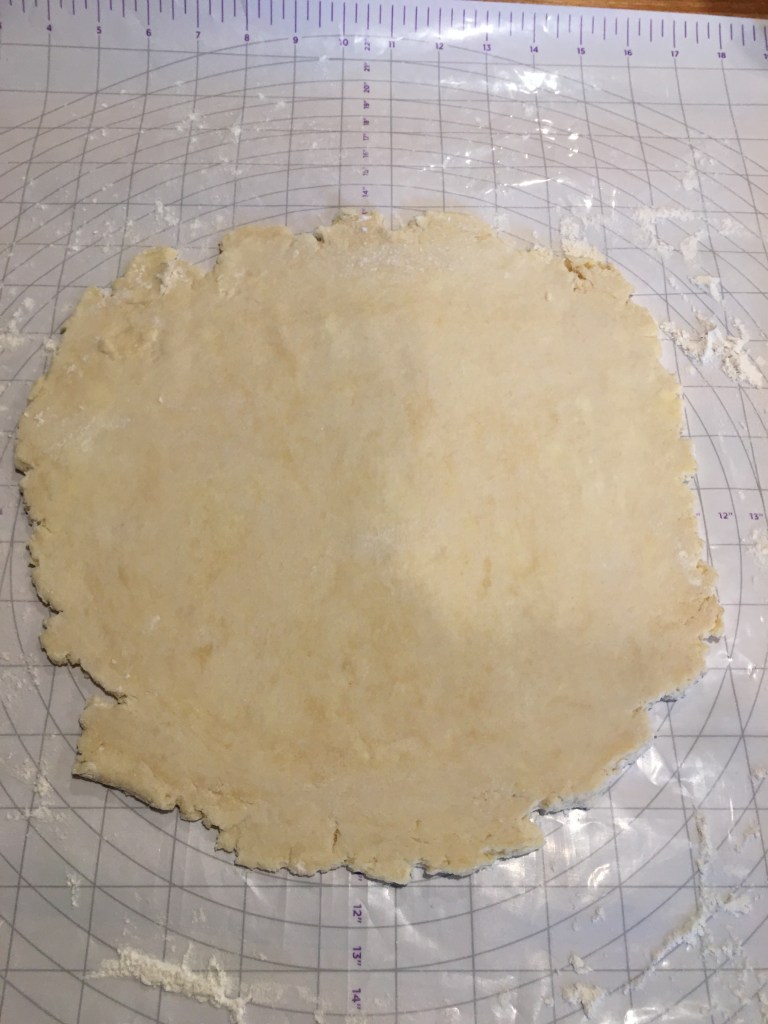
Take your pre-made pie crust and roll it out until its about 2 inches bigger than your pie pan you are using on a floured surface. Here is my favorite pie crust recipe, https://the-road-less-traveled.com/2020/11/16/my-all-butter-pie-crust-recipe/. Before you add the pie crust into the pie pan lightly grease with cooking spray. It prevents the pie crust from sticking, so that when serving it comes out easily. Next add the pie crust to the pie pan, I use a fork and poke little holes in the bottom to prevent bubbling up. Then I mix the egg, a Tablespoon of water and a pinch of salt together to make an egg wash. I then brush the egg wash on the bottom layer of the crust, it helps it become crunchy instead of mushy and helps prevent it from becoming undercooked.


Add your apple filling to the pie shell, and spread it out so that it is even.

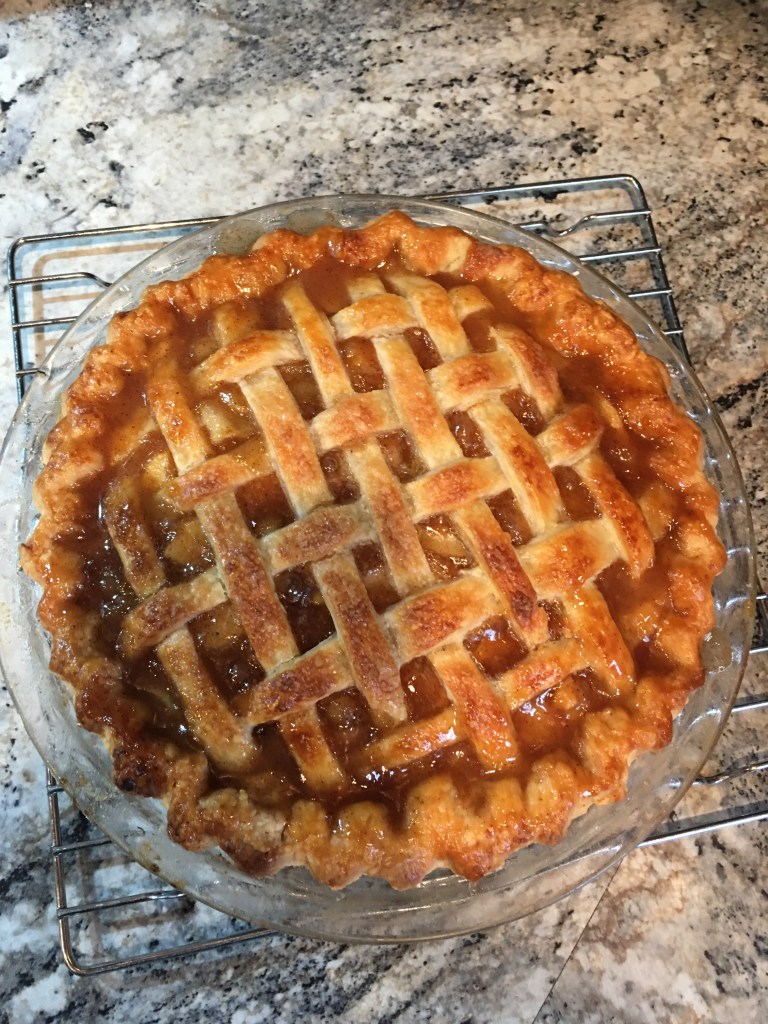
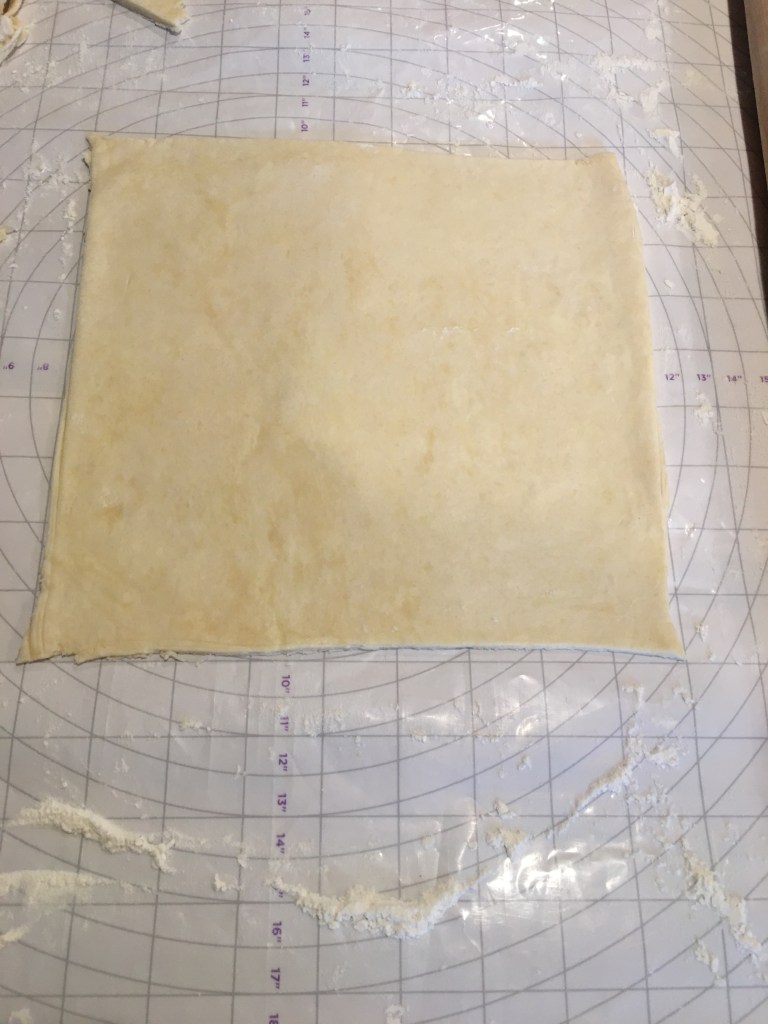
Now for the lattice work. This technique may seem daunting and difficult but once you understand the process it is very simple and easy. First roll out the second half of the dough on a floured surface, until it is the length and width of the pie. Then use a knife and cut it into a square, you may need to roll it out a little more to get it to the size you need.
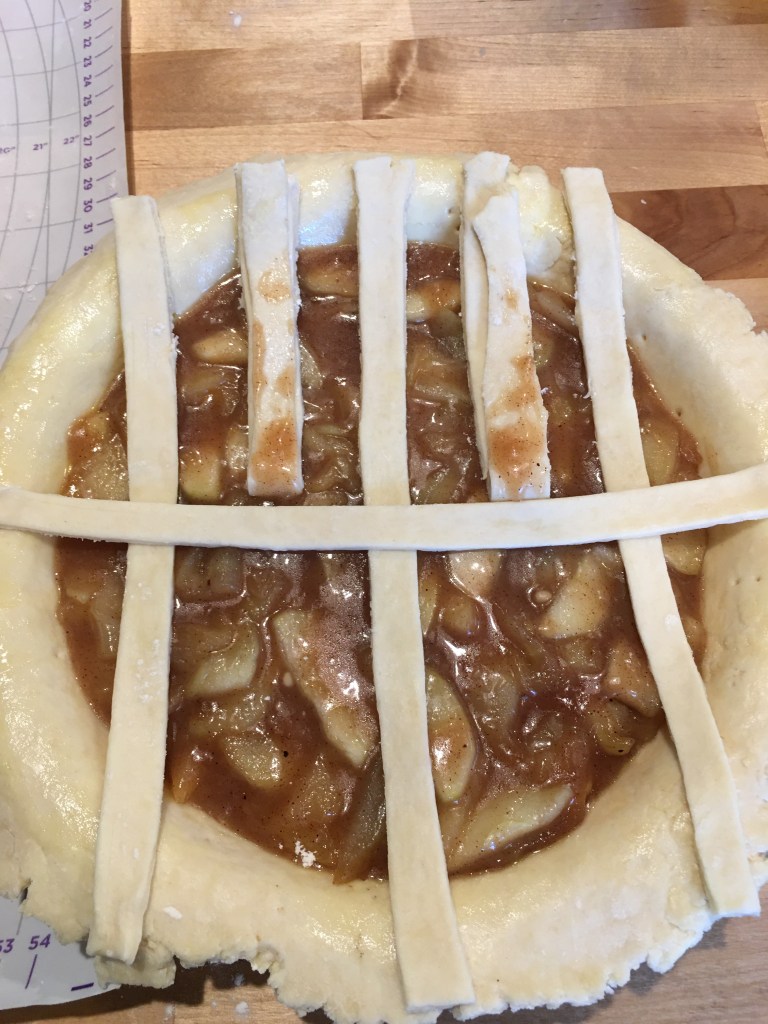
Next cut about 1/2 inch strip of dough and lay it on the pie. Do that five times.

Then take strips 2 and 4 and lift them up and lay them half way up the pie so that they are laying on the other half of the strip of pie dough.

Lay another strip length wise over the other 3 strips, and put strips 2 and 4 back into place.

Now you take strips 1,3 and 5 and lift them up and lay them half way up the pie. After that add the next strip length wise over the other 2 strips, and put strips 1,3 and 5 back into place.

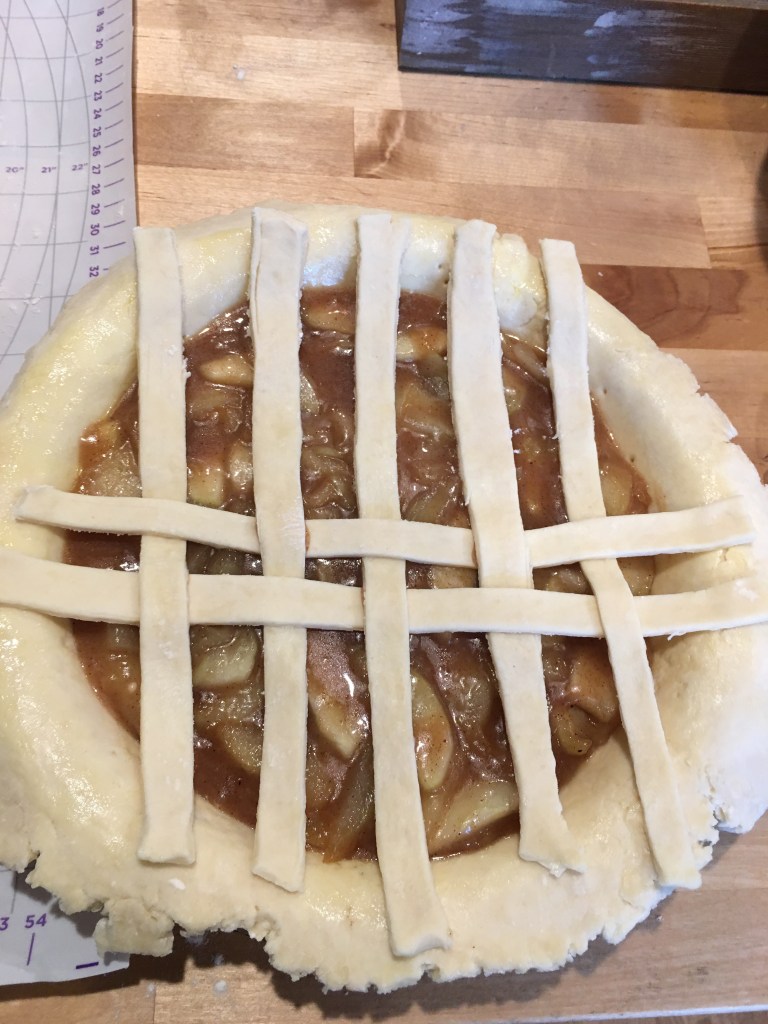
Continue the process of lifting strips 2, and 4 up and placing a strip length wise down over the remaining 3 and lifting 1,3 and 5 then placing a strip over the remaining 2. Until the is no room left for any more strips. Leave about a half of an inch in-between each length wise strip.

Turn the pie around 90 degrees so the open side is facing you. Then repeat the process. Start by lifting strips 1,3 and 5 and placing a strip over the other 2. (Make sure you use the opposite strips you used to start the other side of the pie.)


After placing strips 1,3 and 5 back into place, lift strips 2 and 4 and place a strip length wise over the other 3 strips. Continue this process until you can’t place any more strips.


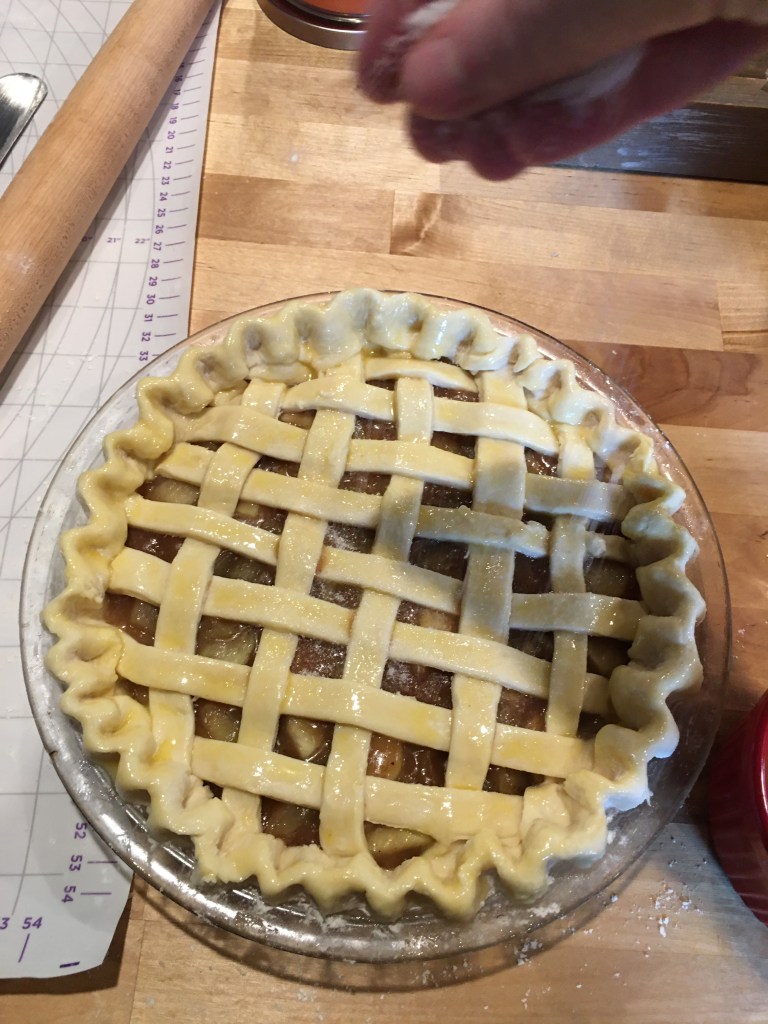
Trim the edges of the strips that need to be trimmed. Do not trim any on the shorter ones, this could cause breakage. Next trim the excess dough that is hanging off the side of the pie pan. So that it is all approximately the same length all the way around. Then roll up the dough all around the pie until even.


Next you crimp the edges of the pie, you can use a fork or use a technique that is familiar to you. What I do is take my thumb and index finger about a half of an inch apart and put my other index finger in-between my other two fingers. It makes a nice crimped edge.(Thank you Mema for this crimping technique, it has made my pies look much nicer.)

Then brush the exposed crust with egg wash, and sprinkle with a little bit of white sugar.


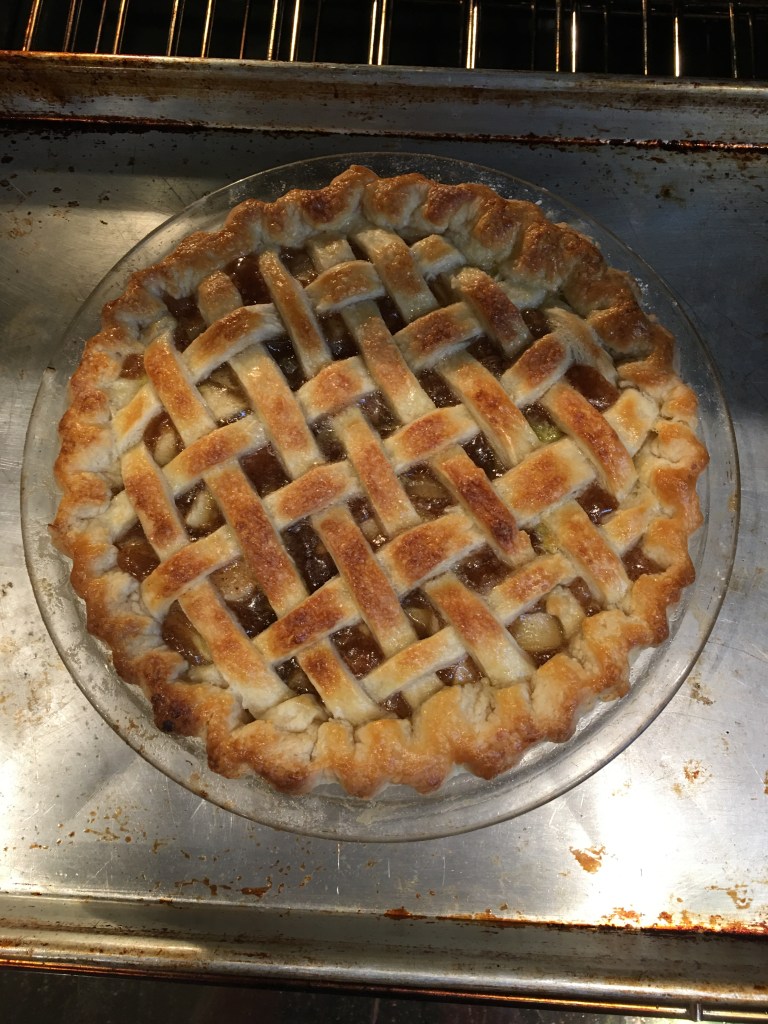
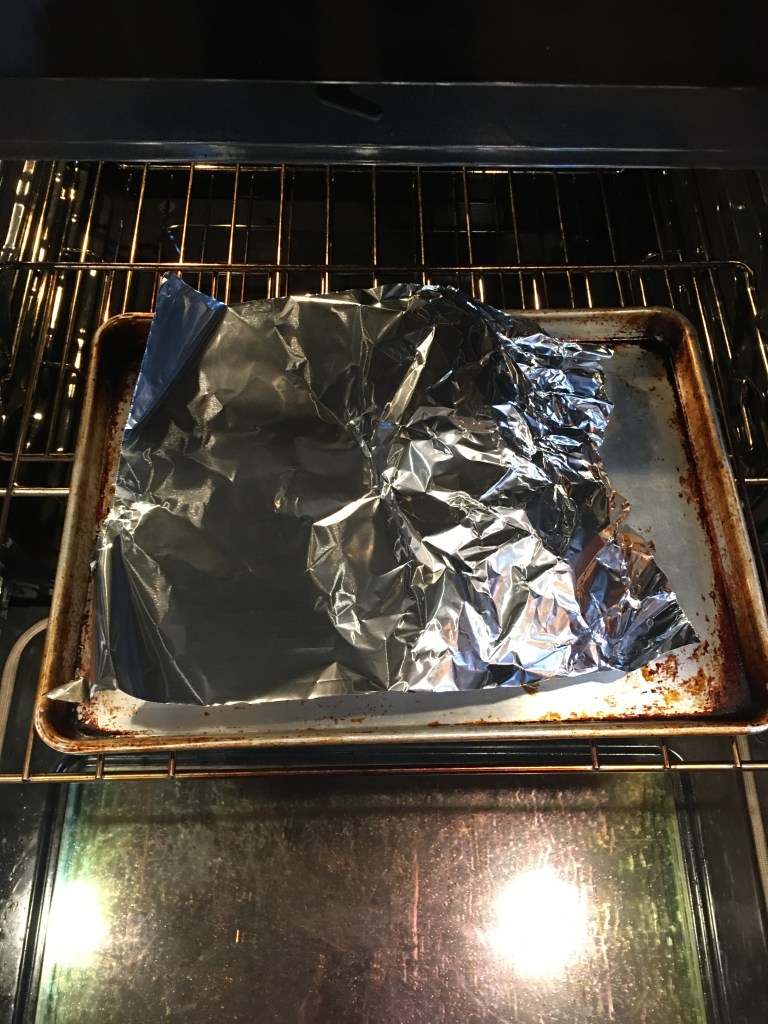
Bake in a 425 degree oven for 30 minutes or until golden. Then turn the oven down to 375 degrees, cover the top with tin foil (to prevent over browning) and bake for another 25 to 30 minutes.


Let it cool for 2 to 3 hours before serving. Best served with ice cream.
Thank you for reading this blog post! Comment down below if you like ice cream with your pie or if you like it plain. Until the next adventure,
Love Payton

Beautiful and tasty pie!
LikeLike
My pie has to have ice cream with it or it’s not pie. I love that I get to taste test all these pies. This one one delicious by the way.
LikeLiked by 1 person
Lucky girl! 😊
LikeLike
Such patience goes into this. Nice job, Payton!
LikeLiked by 1 person